A common testing technique is to add a data-testid="home-page" tag to each view in your app. Then, using something like the react-testing-library, you can find that page for testing like:
describe('App', () => {
  test('renders and defaults to home page', () => {
    const { getByTestId } = render(<App />);
    getByTestId('home-page');
  });
});
However, the Ionic Framework React starter projects generally look something like this:
const HomePage: React.FunctionComponent = () => {
  return (
    <>
      <IonHeader>
        ...
      </IonHeader>
      <IonContent>
        ...
      </IonContent>
    </>
  );
};
If you're not familiar, the <> is the shorthand version of a React Fragment. A <Fragment> is just a wrapper to group code to avoid JSX rules about single elements in a return. The fragment doesn't actually get rendered in the final HTML.
Now, how to add data-testid="home-page"<> because again that won't get rendered and your tests will fail.
You can't add it to <IonHeader> or <IonContent> because those components don't accept the data-testid attribute and won't render them either. Additionally, neither is the place you want the attribute because you want to be able to test the whole page.
The solution is to wrap the whole content in an IonPage like:
const HomePage: React.FunctionComponent = () => {
  return (
    <IonPage data-testid="home-page">
      <IonHeader>
        ...
      </IonHeader>
      <IonContent>
        ...
      </IonContent>
    </IonPage>
  );
};
Notice the fragment <> was removed because the component is now only returning a single element with no sibilings.
IonPage is essentially just a wrapper too and renders as a div like:
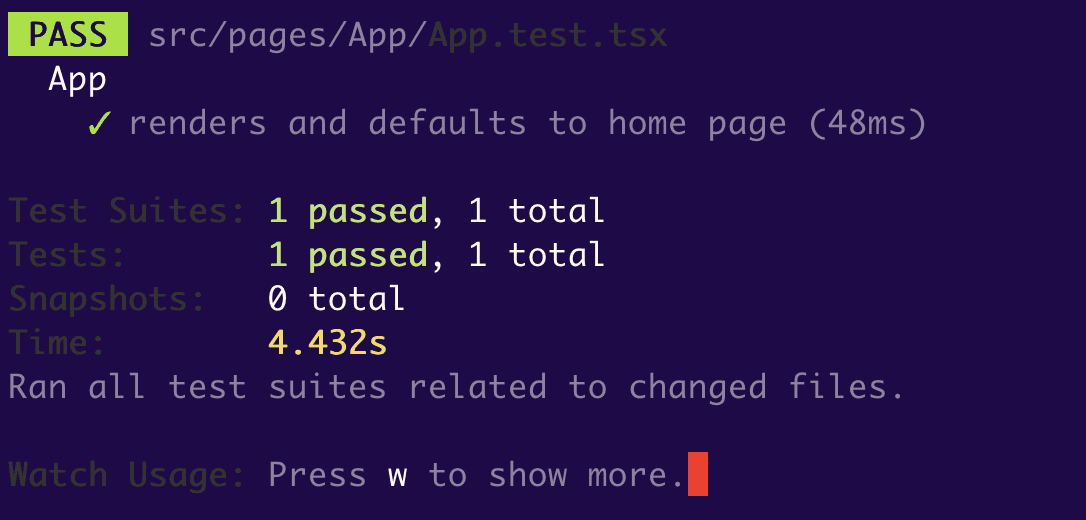
<div class="ion-page" data-testid="home">That's all it takes! Now, your tests will pass.
