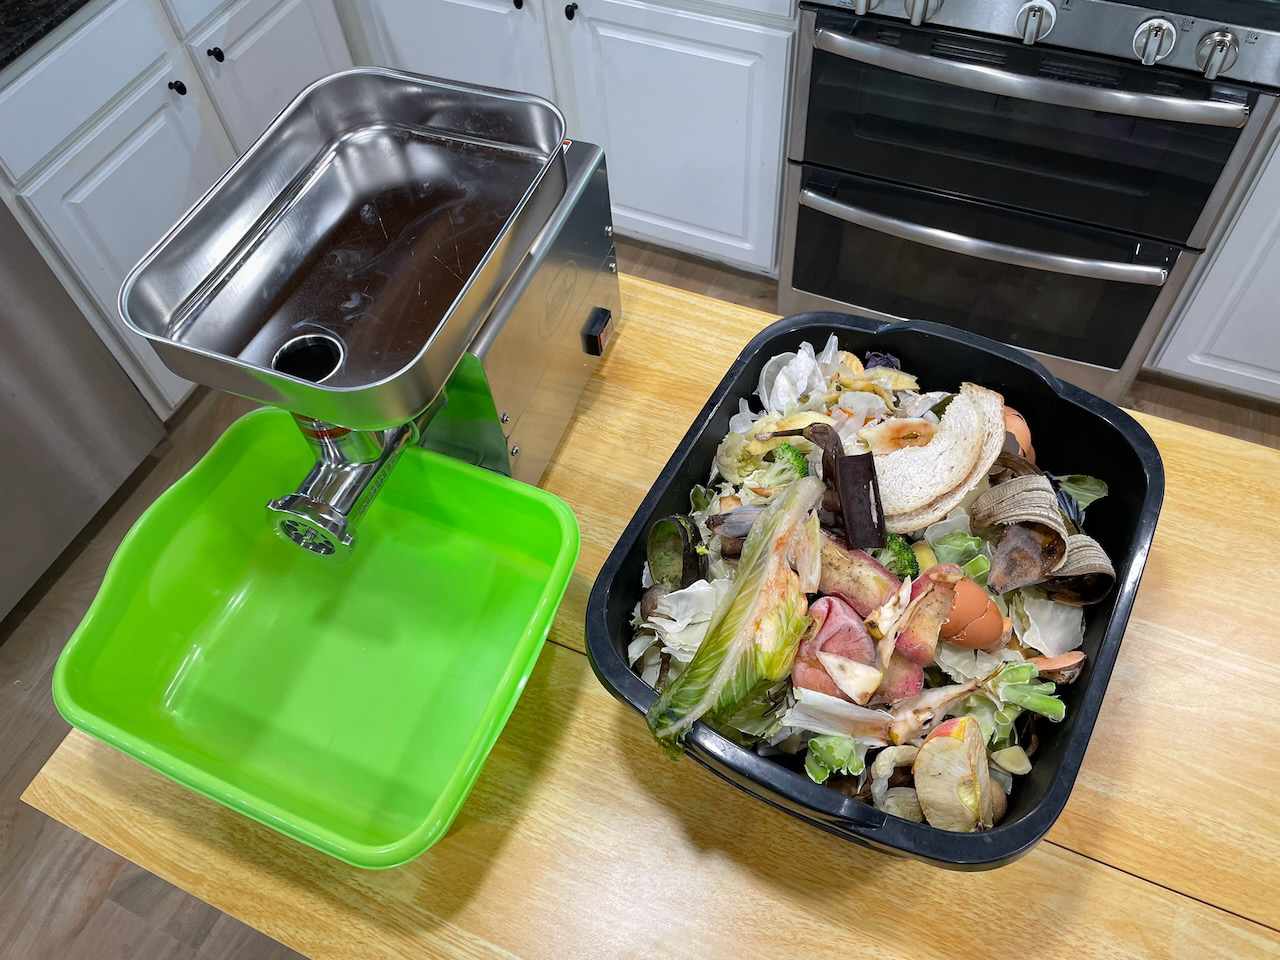
UPDATE (November 2025): My blender kept getting worse and worse. I now use a meat grinder to process my kitchen scraps. See below.
Do you get frustrated when you have to throw out fruits and vegetables that have gone bad?
Have lots of kitchen scraps but can't be bothered to compost them due to possible smell, rodents, HOA rules, or time commitments?
Welcome to "blendposting". That's my made up name for a technique I "invented" for handling kitchen scraps or wasted fruits and vegetables.
It's really easy to do, will help your garden or flowerbed immensely, and reduce waste/smell at the local landfill.
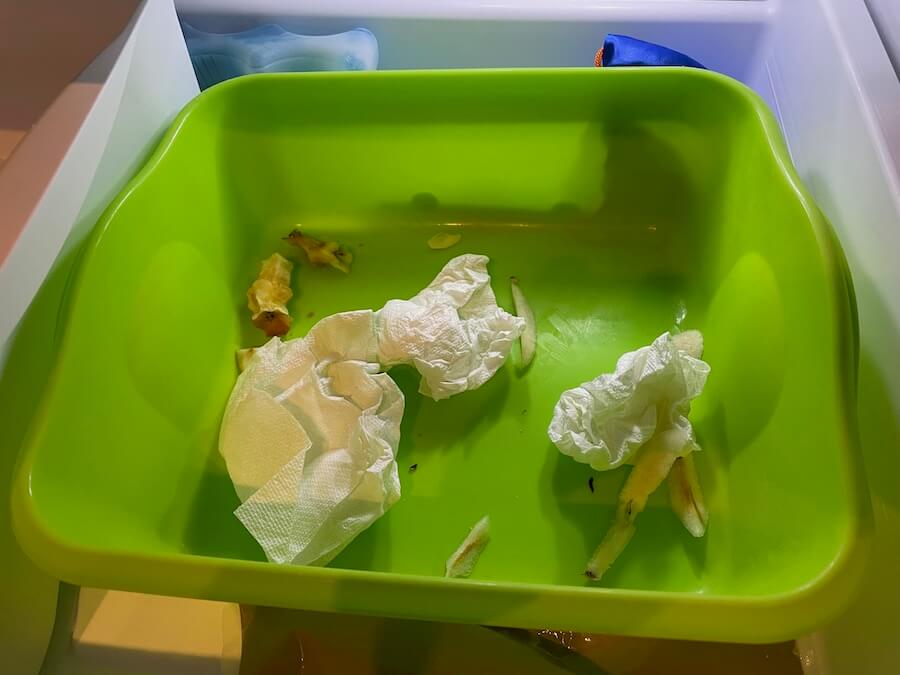
Step 1: Freeze Your Scraps
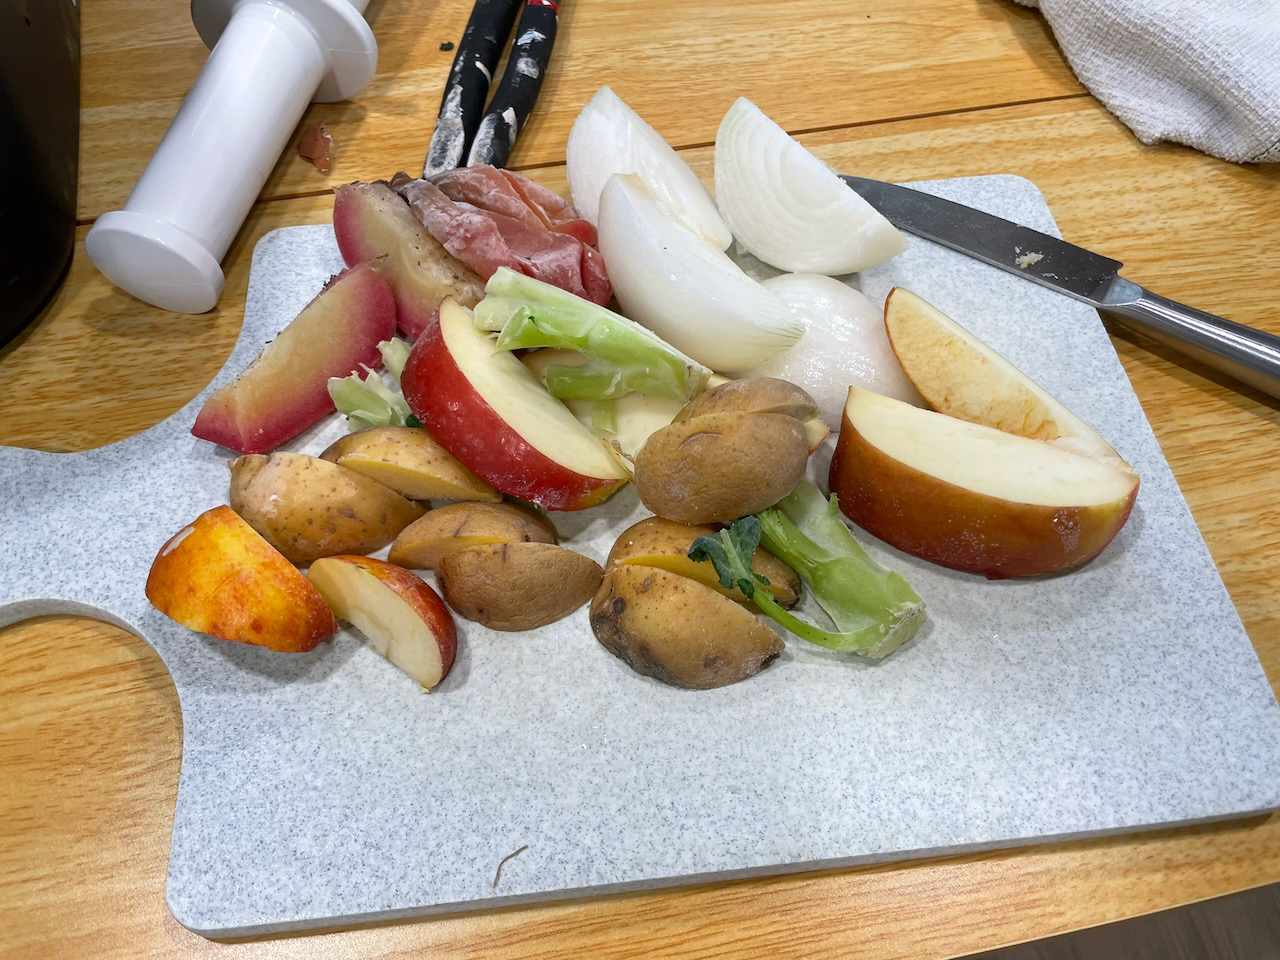
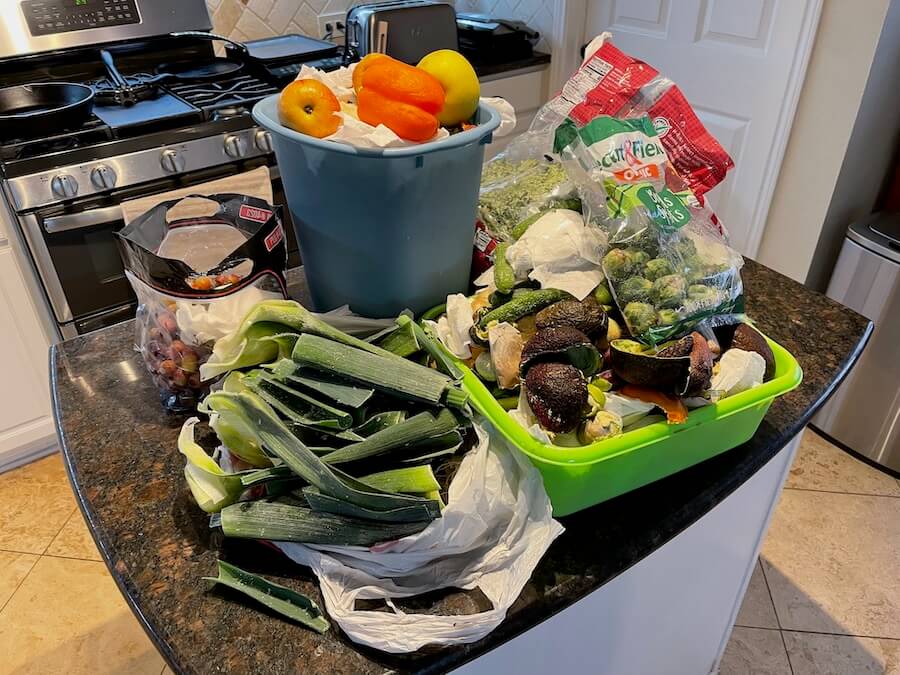
We have a plastic tub in our kitchen freezer. While preparing every meal, we toss scraps (potato and onion skins, carrot heads, orange peels, avocado skins and seeds, wilted lettuce, etc.) into the tub. We even toss coffee grounds, tea bags, and leftover cooked vegetables into the tub.
If you discover you've let some fruits or veggies go bad, toss them in there too.
Freezing isn't required but I can't bothered to blend my scraps every few days.
IMPORTANT: Pull the strings off tea bags before tossing the bags in the bucket. Throw the strings away. The strings tend to catch on the spool the blades are attached to. They're a real pain to remove.
IMPORTANT: I only collect fruits and vegetables. You could do this with meats as well. However, there is the risk of smells or attracting vermin. Perhaps if you lay chicken wire or netting over the ground, you'll prevent any unwanted digging or rooting.
BONUS POINTS: We save paper towels as well.
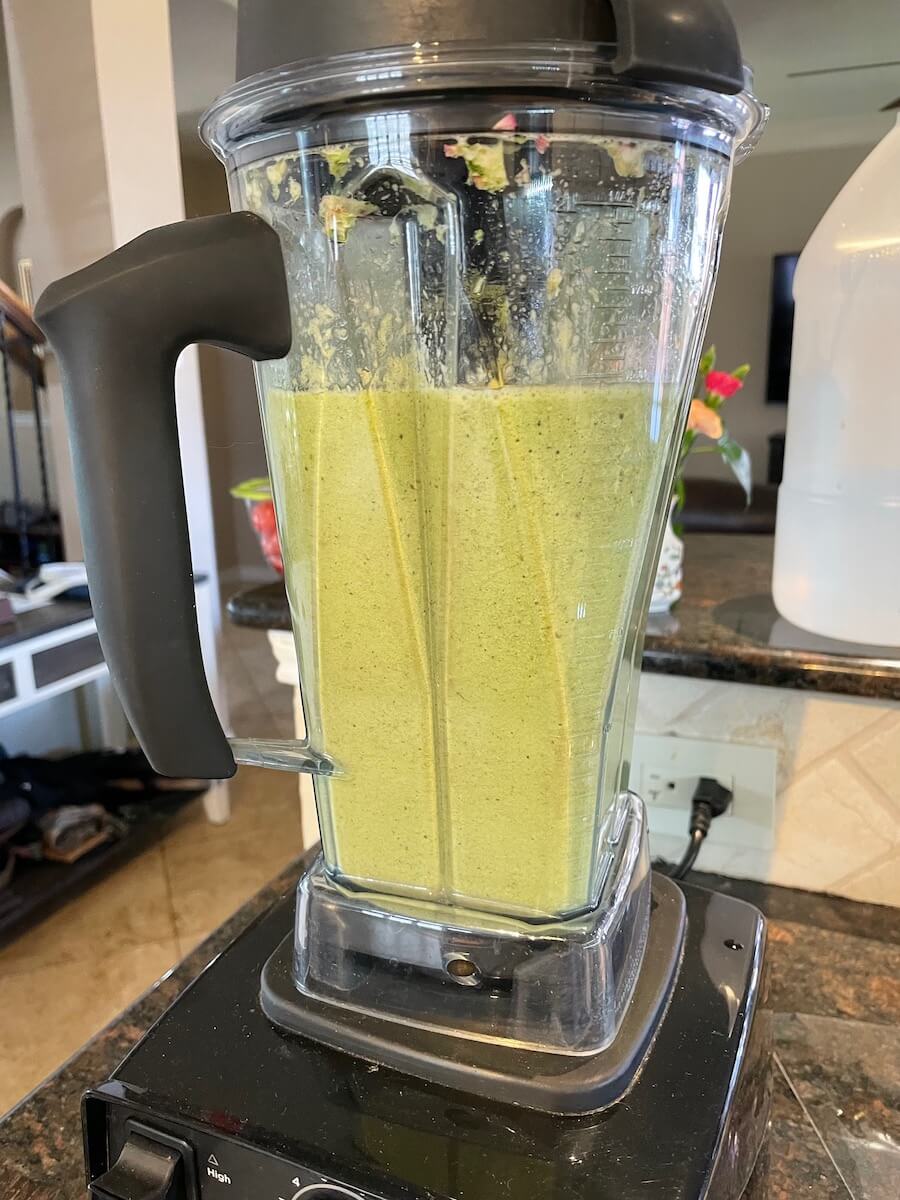
Step 2: Blend Away
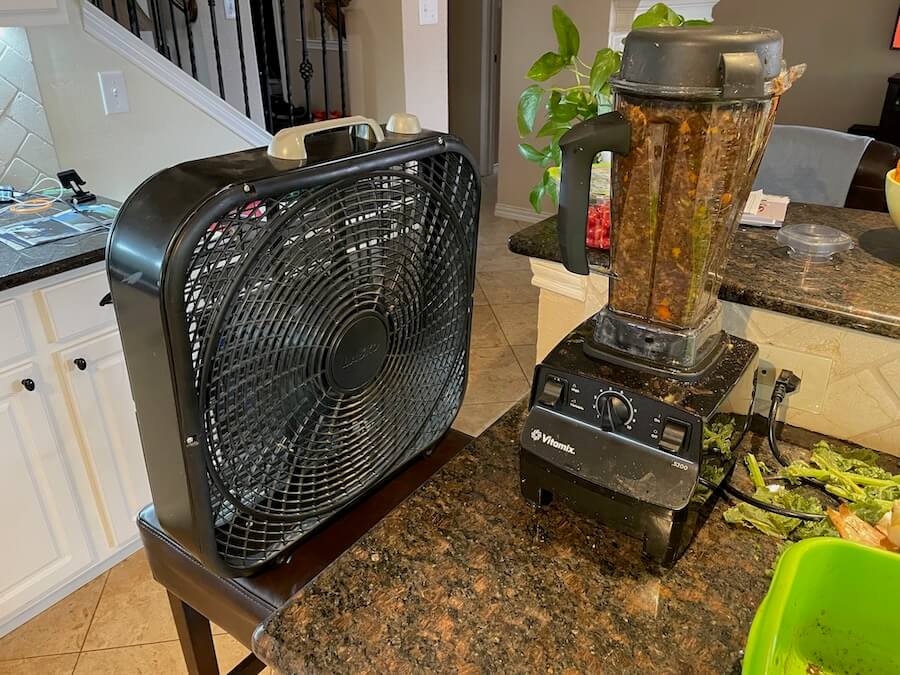
Once your bucket is full or you're ready to do some gardening, fill your blender about half way with water. Top it off with some frozen scraps and fire it up. You'll have a beautiful looking "smoothie" in seconds. Just make sure you don't leave the room. Your housemates might decide to taste a sample.
Experiment with the amount of water that works best for you. I prefer to have it pretty runny for easier pouring. You might even try to use a meat grinder if you don't want/like to use so much water.
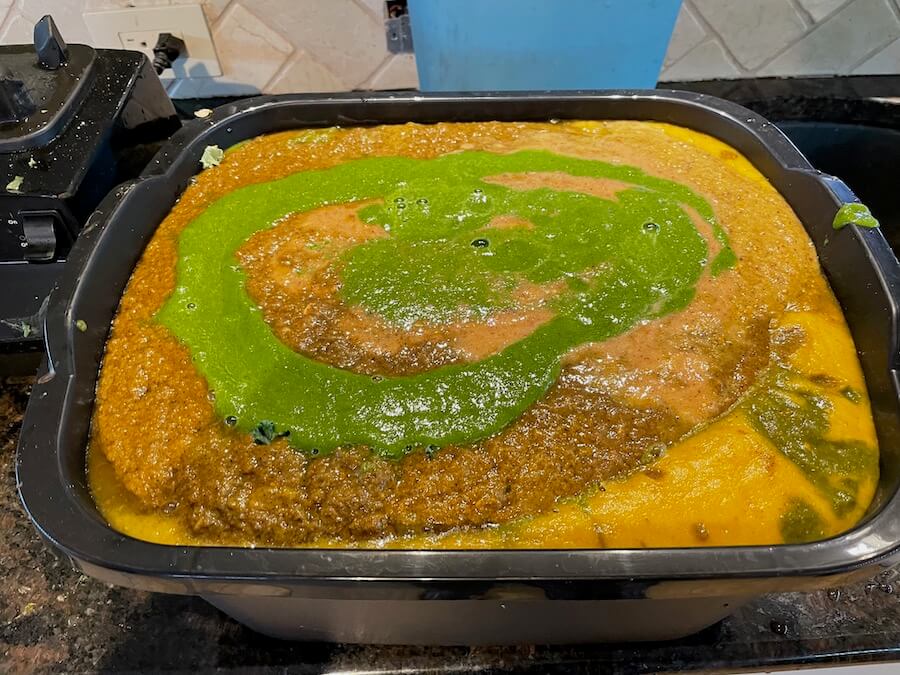
I wish I'd done some "latte art" for this photo 😉.
Step 2: Pour It On and Cover It up
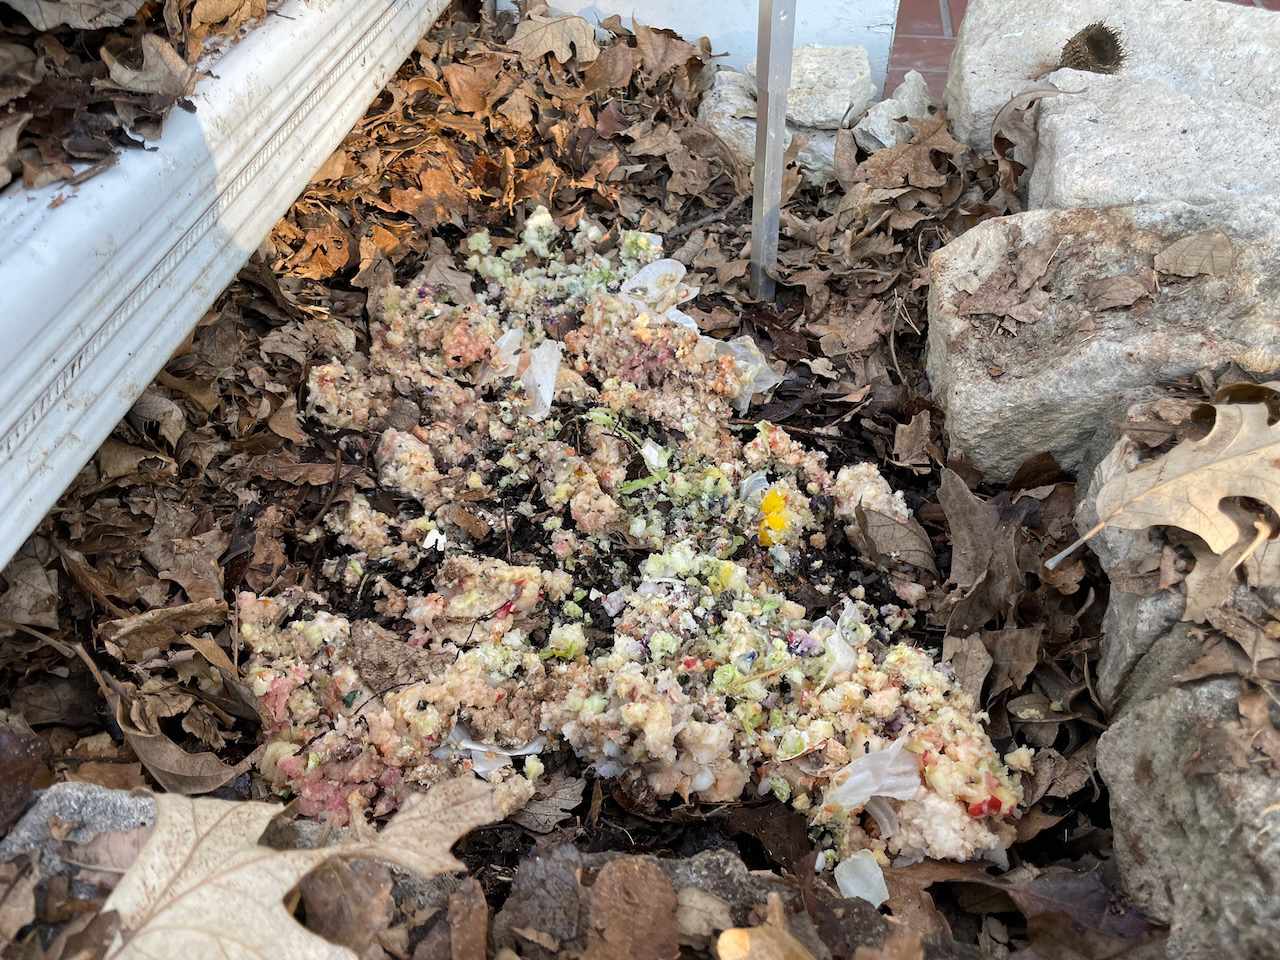
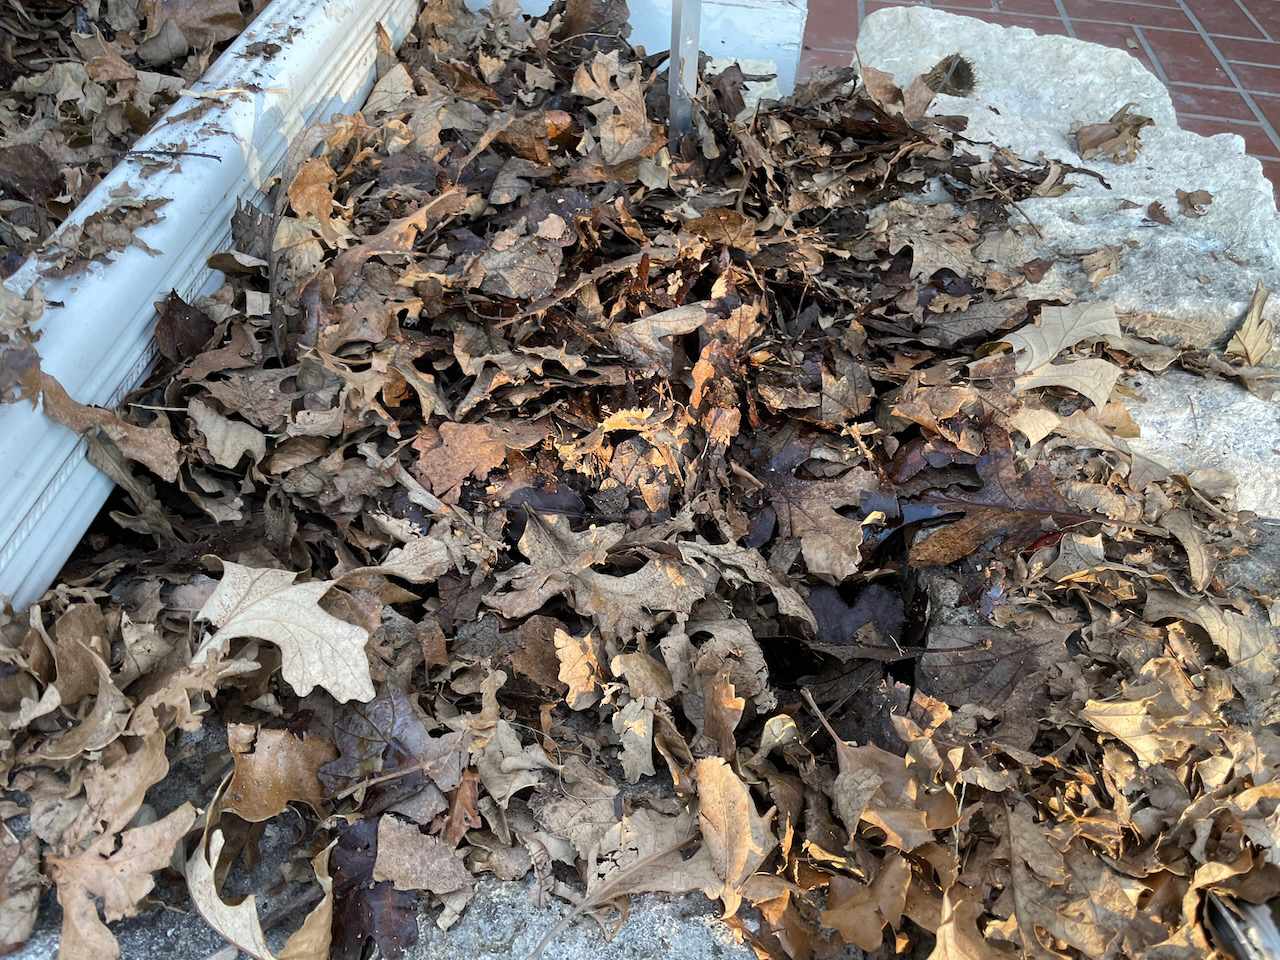
I like to just scrape away my leaf mulch and pour the smoothie onto the bare soil. Then, I use a sprayer on my water hose to dilute/distribute the mix across a wider area. This also helps it flow down into cracks in the soil. My goal is to make it harder for any possible pests to get an easy meal. Next, I cover it up again with leaf mulch.
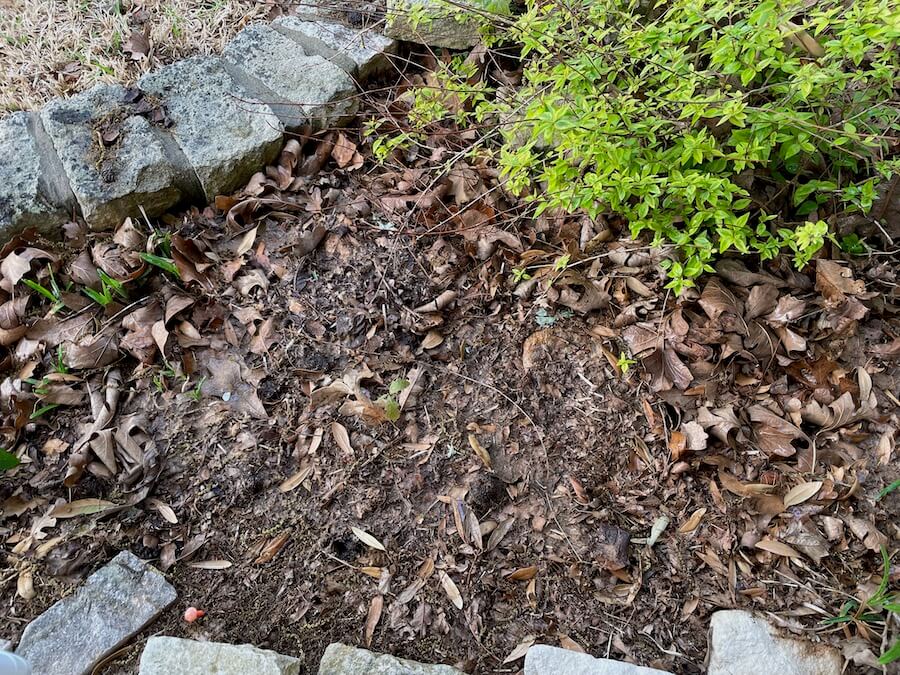
Step 3: Marvel at the Biological Activity
The worms, ants, and other bugs really love this stuff. My suburban flowerbeds were very inactive before. Now, after one year of "blendposting", I see much better soil structure and biologic activity. All this blended matter "disappears" in less than two weeks.
Step 4: Stock Up over Winter
I really don't enjoy the cold. I'm certainly not going to garden in it. So, my one bucket became several plus a few bags over the last few months. They had begun to take up too much of my big freezer. So, I spent almost two hours* "blendposting" everything. I got it all back down to two buckets. I've frozen these again. In the spring, I'll thaw them out and pamper my flowerbeds with them.
* PRO TIP: With this massive amount of scraps to blend, my Vitamix blender kept overheating. It would take about 10 minutes to cool down before I could work again. I solved this by placing a box fan right next to the blender. Afterwards, I was able to blend for longer before overheating and had shorter cooldown periods.
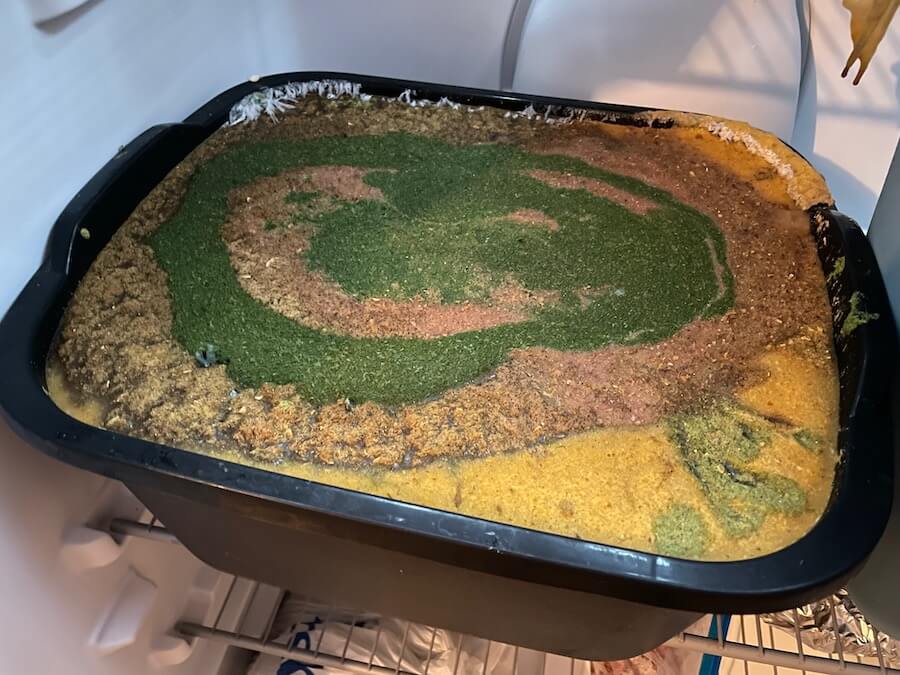
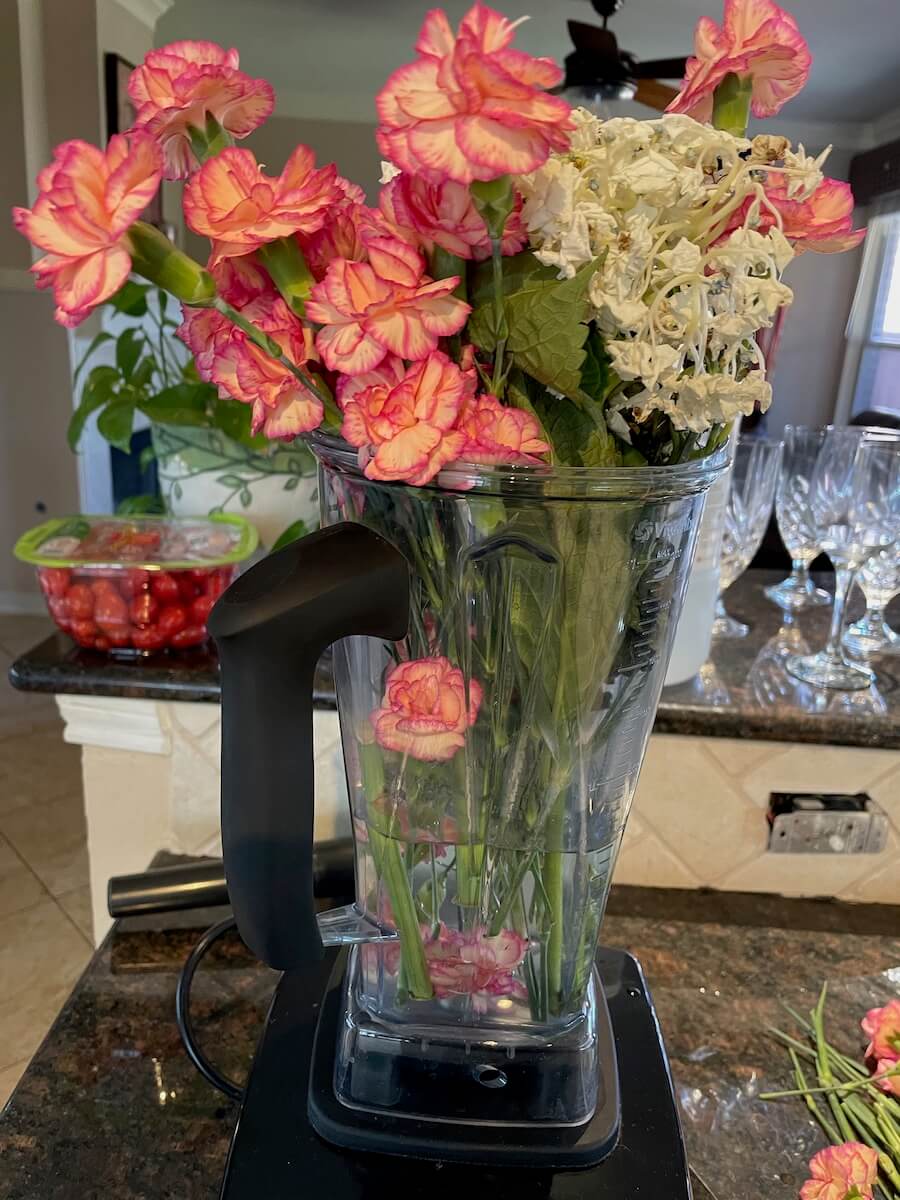
Pro Tip: Don't Forget Cut Flowers!
I always sort of regretted when we received delivered flowers. Yes, they are beautiful but also incredibly wasteful (fuel, emissions, waste, etc). While I can't avoid all of the downsides to fresh flowers, at least they don't go to waste now!
I blend them up into a refreshing, minty looking smoothie and add them to the flowerbeds.
Bye Bye Blender. Hello Meat Grinder
After about a year of doing this, my llender pretty much died. It would start to overheat with one single batch. It still works for typical cooking tasks, but it's just not up to handling this much bulk processing of hard, frozen food. So I was just filling up my freezer month after month with more and more scraps that needed to be processed.
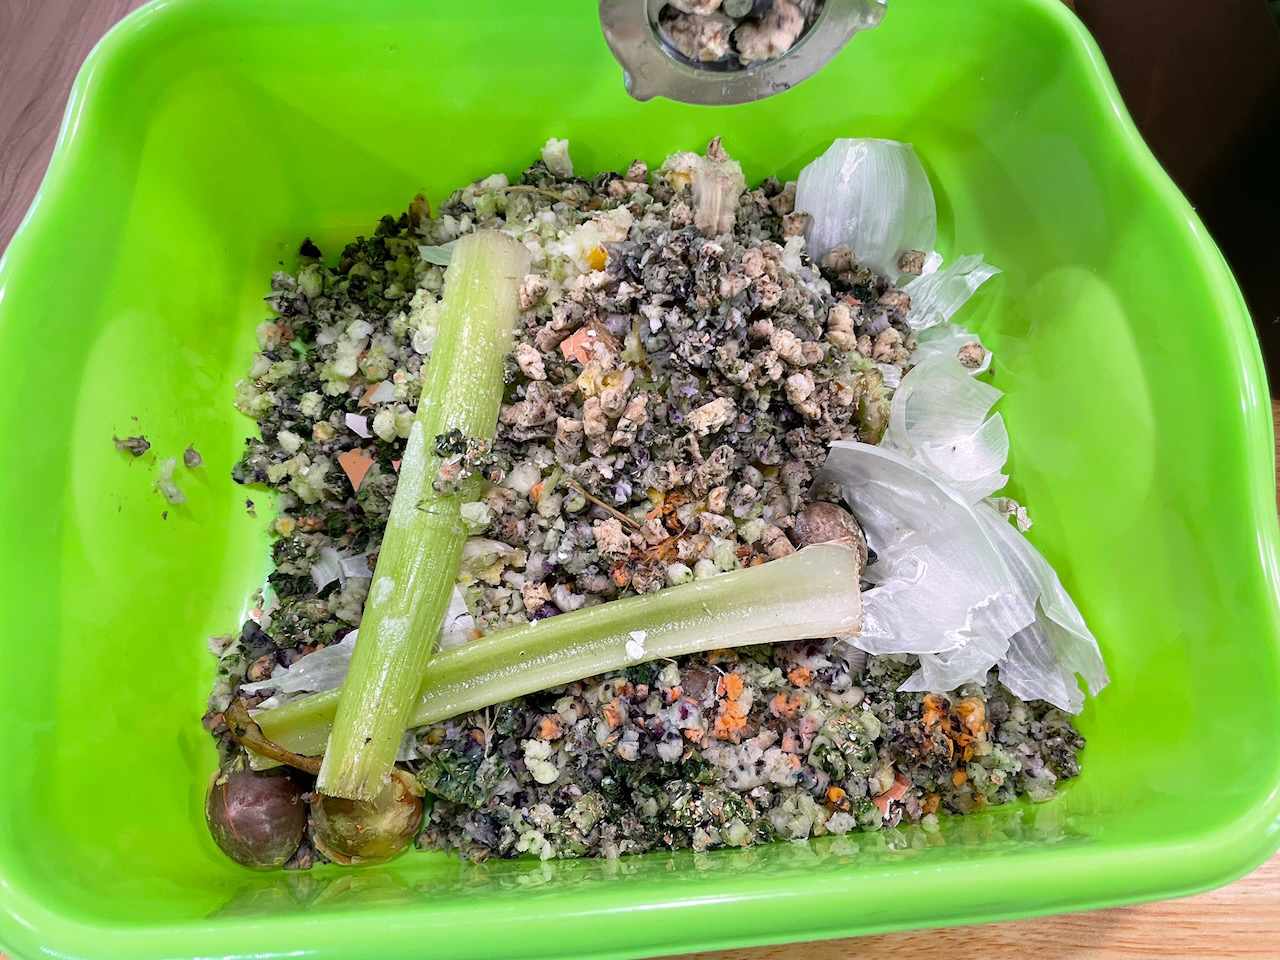
After researching other options, I decided to get a high-quality meat grinder. It does an excellent job of processing these scraps without using all the water that the blender did. I've found that I enjoy using the meat grinder much more than the blender. I have to make fewer trips outside to dump my bucket due to all the water I used with the blender.
There are some caveats, though. A meat grinder cannot handle anything with strings or paper. I used to grind up my plain paper towels with the scraps. These will clog the meat grinder. So) tea bags are a no-no because they have paper and strings. Another very paper-like thing is the outer wrappings of onions. I'm talking about that completely thin, dry stuff that has no moisture content. Those are effectively paper and will block the discharge chute. The grinder also doesn't like frozen avocado seeds. Actually, the food processor didn't do a very good job with them either. However, the grinder will lock up because it blocks the discharge. With these few items, I just throw them in my processed bucket and decompose just find.
Here are some photos of the whole process.